Webhook Destinations are available for Paragon customers on Pro and Enterprise plans. To learn more, contact your Customer Success Manager or sales@useparagon.com.
Configure Datadog
To send notifications to Datadog, you will need to add an API Key to your Datadog organization:- In the bottom right menu of your Datadog account, navigate to Organization Settings.
.png?fit=max&auto=format&n=jCM_Y_j0HttScr1R&q=85&s=4bbaff5bdafbdcd16beb71e1ebb79b81)
- Under Access, click the API Keys settings page.
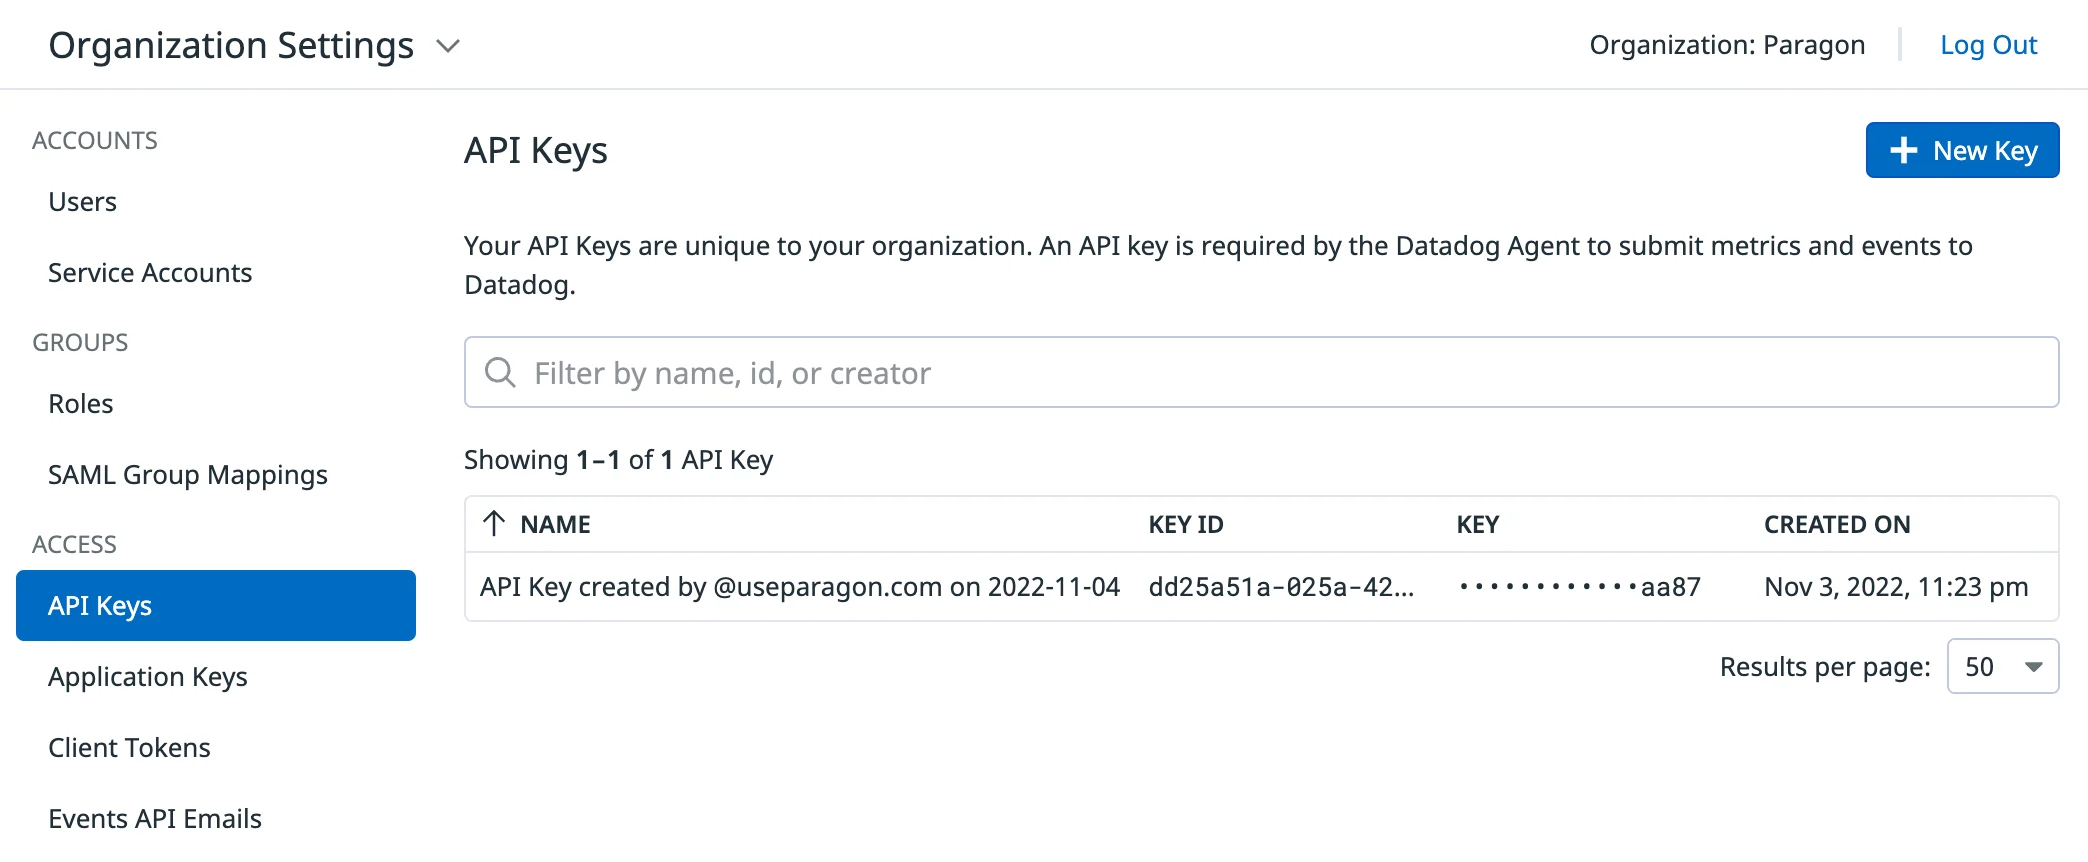
- Click New Key and name the key something recognizable, like “Paragon”.
- Once the new API Key value appears, click Copy Key. You will need this value to add the Event Destination below.
DD-SITE value used in your Datadog agent:
.png?fit=max&auto=format&n=jCM_Y_j0HttScr1R&q=85&s=12c3cd30d7635943af0b41541249fefc)
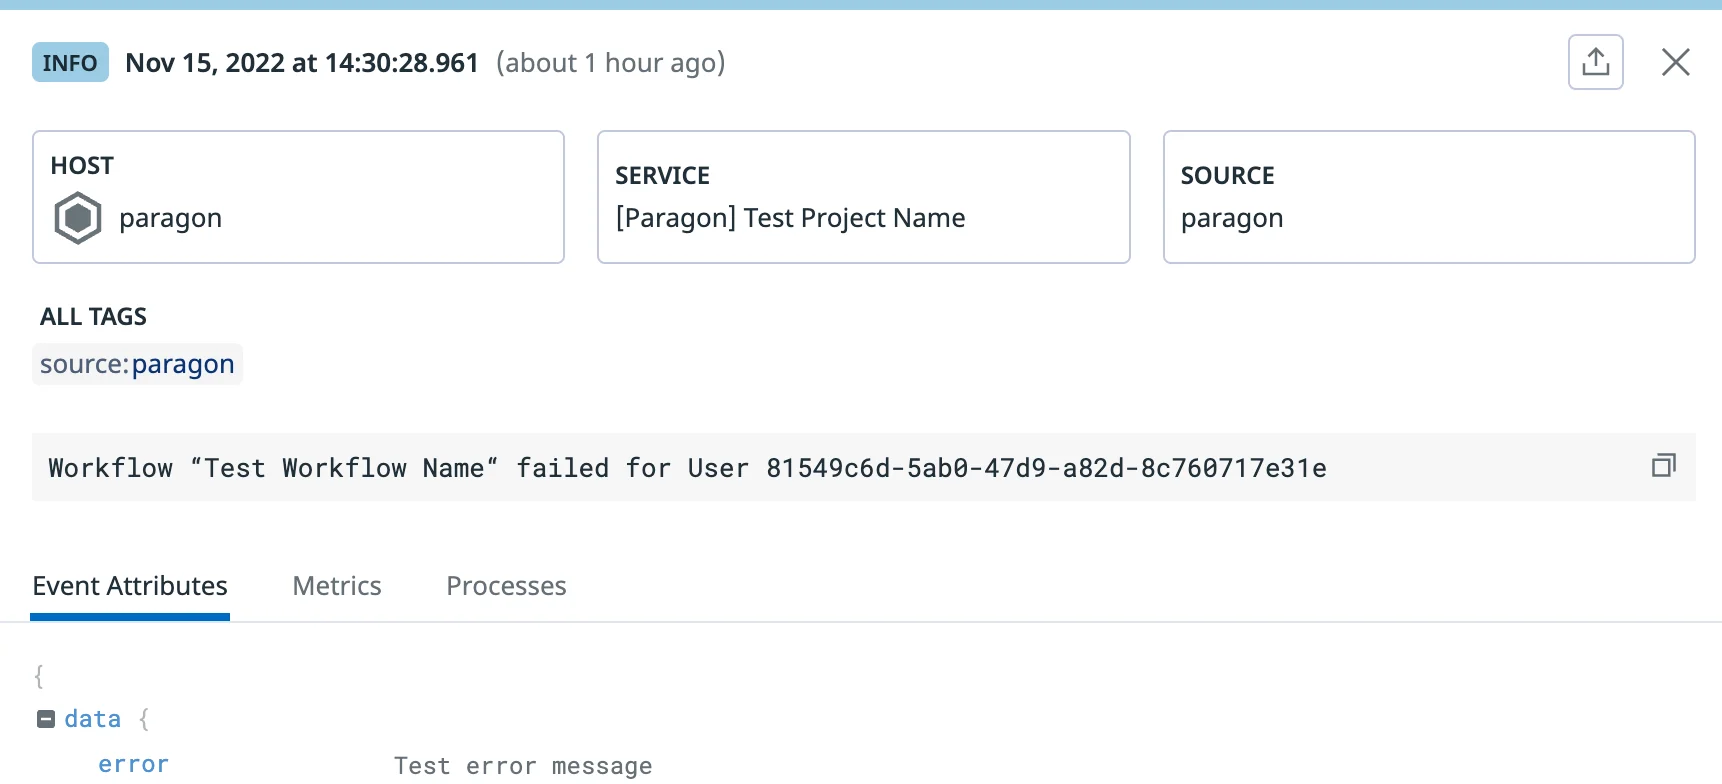
Create Event Destination
To create an Event Destination with Datadog, you will need to have followed the above steps to obtain a Datadog Site and Datadog API Key.- From the Settings > Monitoring page, click the Add Destination button at the top right.
- In the Type field, select Webhook (HTTP Request).
- Click “Select Template” next to Request Payload and select Datadog.
-
In the URL field, replace
<DD-SITE>with your Datadog Site value (e.g.us5.datadoghq.com). -
In the Request Headers table, replace
<DD-API-KEY>with your Datadog API Key. - Click Test Webhook to verify that a log can be sent successfully to your Datadog instance.
- Click Save to create and enable the Event Destination.